Miniature Cloth Banners

SUPPLIES:
Old blue jeans or other scrap cloth - Fabric Store Discount remnants
Scissors
PVA Glue - Elmer's
Super Glue
Hot Water
Chaos Black Paint
Paint for Designs (Skull White)
Shallow Wide Cup/Tray
Drying rack/stand
Old clean brushes
Time - This project requires lots of drying time
1: CHOOSE YOUR BANNER MATERIAL
It really doesn't matter what material you use, as long as you can get the shape and thickness that you like out of it. This is why Fabric Store remnants are so great. Who cares if it has the ugliest paisley pattern that you have ever seen, you are going to dye the fabric and paint on it anyway! Unless, of course, if you find the perfect background pattern for your banners already preprinted on the fabric itself.
I used old denim (blue jean material) for my banners. This may prove to be too thick for your liking; choose other material accordingly.
2: CUT OUT YOUR BANNERS
 Cut out banner shapes from your cloth, be sure to get the width correct in relation to the model holding it. Be sure to leave extensions where the banner will wrap around the banner pole. Leave yourself enough material too work with! If it is too long, it can always be trimmed later.
You can make the shapes neat and clean cut or ragged and battle-damaged. You can also wait and distress the banners after you have finished them, though I did not construct mine this way and I could not offer any true advise. Think of what a cloth banner might go through on a battle field, and then think of how difficult it would be to repair it. I imagine that while a soldier has some basic sewing knowledge, he will probably be more concerned with maintaining his weapons and armour than with repairing a flag during an extended campaign.
3: DYE YOUR BANNER
Once you have the appropriate shape, you need to get your material to be the correct color (if you did not choose your material for its color, that is). You will need to prepare a paint/dye bath in which to soak your fabric. I used a simple mixture of paint and water. I wanted black banners, so here is how I did it.
a: Mix black paint with hot water in a wide shallow cup. I'm not sure of the proportions because my paint was already thin, but you will definitely want more water than paint, probably a ratio anywhere from 1:10 to 1:3, depending on the original paint thickness.
b: Once the paint bath is ready, soak the fabric in it for a few minutes, making sure the entire piece is submerged.
c: Once finished, hang the fabric on a drying stand. Make sure the excess paint will not damage anything important, the fabric will drip.
d: Once dry, you may need to repeat the paint bath to get the proper color. The concentration of pigment in the water, the original color of the fabric, and the fabric material itself will all be factors in how many times you will need to treat the fabric to get the color you want.
INTERMISSION: DECISION TIME
Now you have a dry blank banner with the proper background color. The banner might be slightly stiff, but nowhere near stiff enough to create a flying effect, so now you have an important decision to make: Paint your design or stiffen your banner?
I have tried this both ways, first painting then stiffening or first stiffening then painting, and I have gotten both to work. If you paint first, it will be easier to get the designs you want, but you may lose color or your colors may run during the stiffening process (this did not happen to me, but it is a possibility). If you stiffen first, you don't have to worry about the colors, but it can be hard to paint designs on the rippling curves of a fluttering banner.
If you want a simple hanging banner you can skip the stiffening process entirely. The paint bath treatment has probably given your banner a bit of curl, which you can keep for effect, or flatten out by working the banner with your fingers. However, if you want a banner that is flying out horizontally or which suggests movement, you will need to stiffen it.
4: STIFFENING TREATMENT
a: To stiffen a banner, you will need to dissolve 1 part PVA glue in 3 or 4 parts hot water. I did not measure this ratio while doing it, I simply eye-balled it, but these amounts sound about right.
b: In the same way you did the paint bath, submerge and soak your banner in the water-glue mixture. Don't worry, the white of the glue should dry clear. I prepainted one of my black banners with white designs before applying this treatment and the white designs did not get damaged at all, I'm not sure how other colors will be affected though.
c: After soaking it, you need to lay out the wet banner on a clean dry surface. Make sure your banner pole attachment extensions are lying out straight.
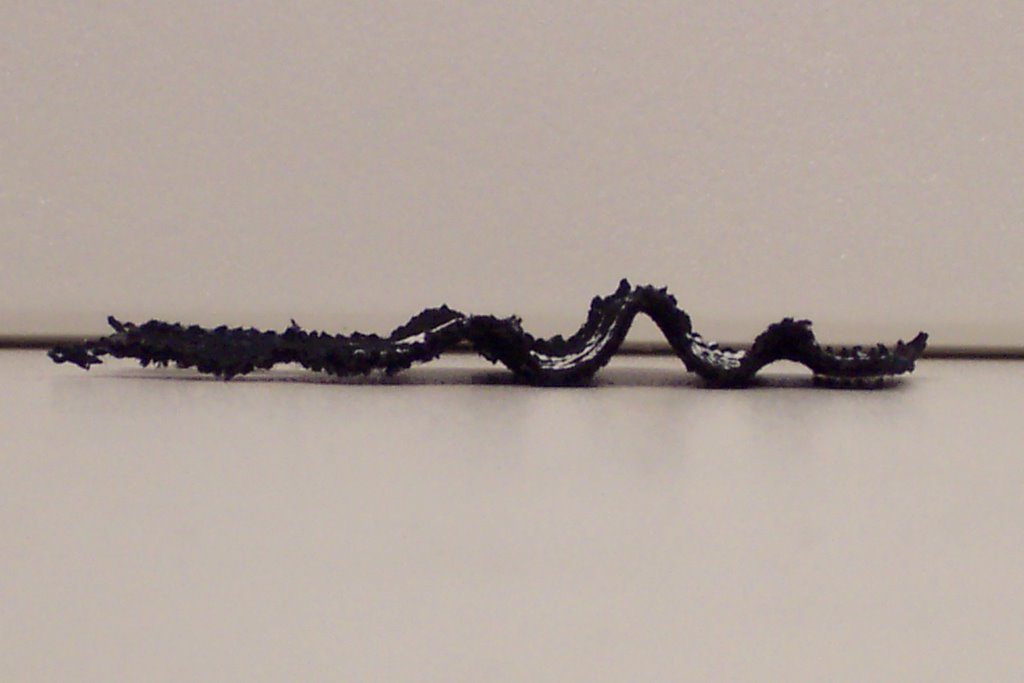 d: While the banner is still wet, form whatever ripples you want by bunching up the material with your fingers or by curling it. Be careful not to damage any prepainted designs with your fingers!
e: Once you have formed the shape that you want, I suggest using an old, but clean, brush to add a small additional amount of glue mixture to the curved sections to help reinforce the shape.
f: Now you must wait for the glue mixture to completely dry. COMPLETELY. COM-PELTE-LY! The banner will remain flimsy until ALL moisture is removed from the fabric! To help speed up the process, I suggest you very carefully move the banner to a new spot in your drying area once or twice, while it is drying, to get the fabric out of its pool of excess glue mixture. You will probably have to let it dry overnight. I'm not sure how heat will affect the drying process. You can try using a blowdrier to speed up the process, but you might end up curling the banner more than you want it to.
g: Once the banner is completely dry, it will hold its shape unless you apply undue force to it (if you try to flatten it out you will lose definition).
5: ADDITIONAL DISTRESSING
If you have decided that you want additional holes or tears in the fabric, or if you need to trim it to properly fit the model, you can do this at anytime. Since we soaked the fabric in paint instead of simply painting the surface, the original color of the fabric will not show through new tears or cuts!
You may want to wait to distress the banner until after you have painted any designs on the fabric, but I prefer to do my detail painting last.
6: PAINTING YOUR DESIGNS
If you have not yet done so, you can now paint your designs on the banner. After the paint bath and glue bath, the fabric will have lost much of its absorbent power, allowing you to paint much finer lines than fabric would normally allow.
Here are some painting tips to help you get started:
* Use the published imagery and history corresponding to your army for inspiration.
* Start simple and then expand.
* Everything is composed of geometric shapes at some level, remember that and use it.
* Draw out a reference design and continually refer back to it. This helps a lot!
* If you have a simple rectangular banner, you can quarter the image you want to use, find the center of the banner, and then paint the design one quarter at a time.
* If you have a torn banner, remember that parts of the image will not be visible. Imagine the image continuing into the empty space to help you retain symmetry. You can also lay a piece of paper or unwanted fabric under the banner and actually paint over the holes and tears in the banner. This will help you retain symmetry by allowing you to paint the entire design.
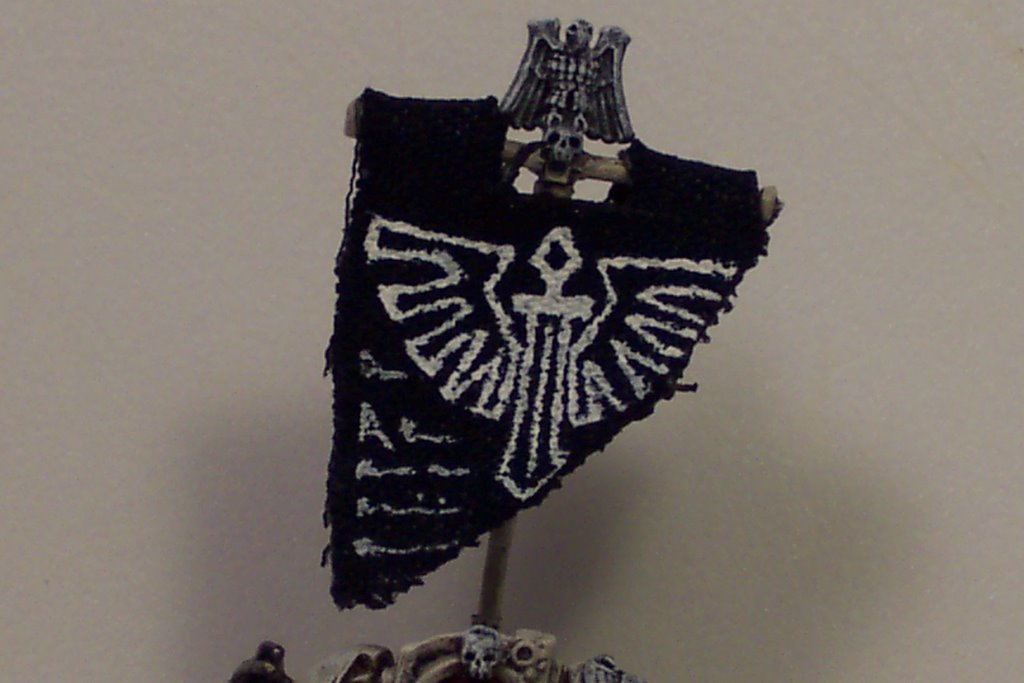
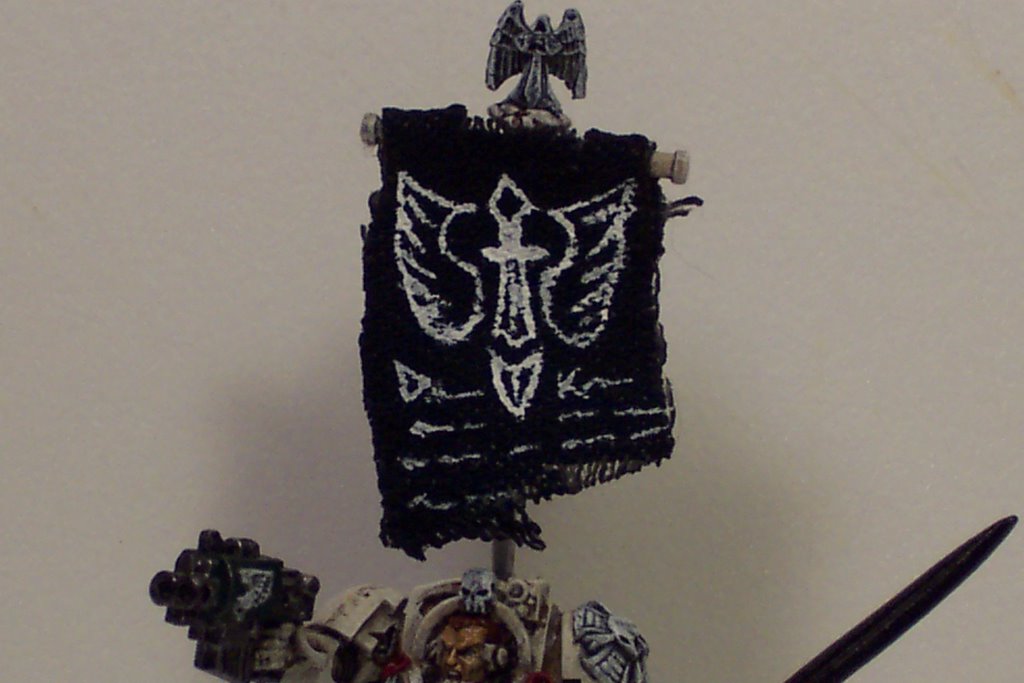
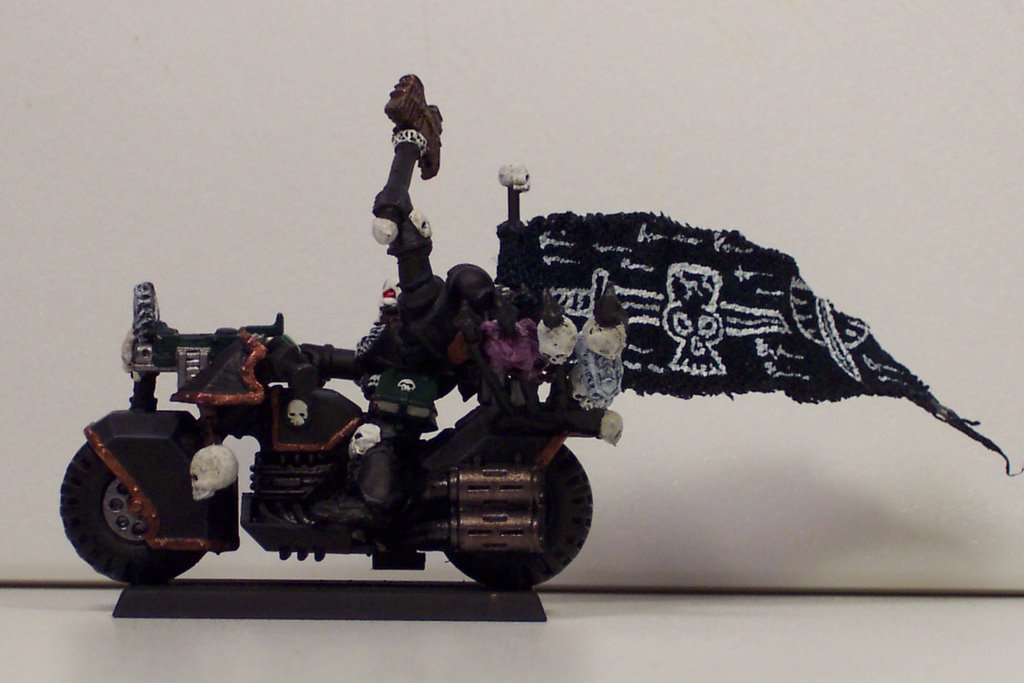
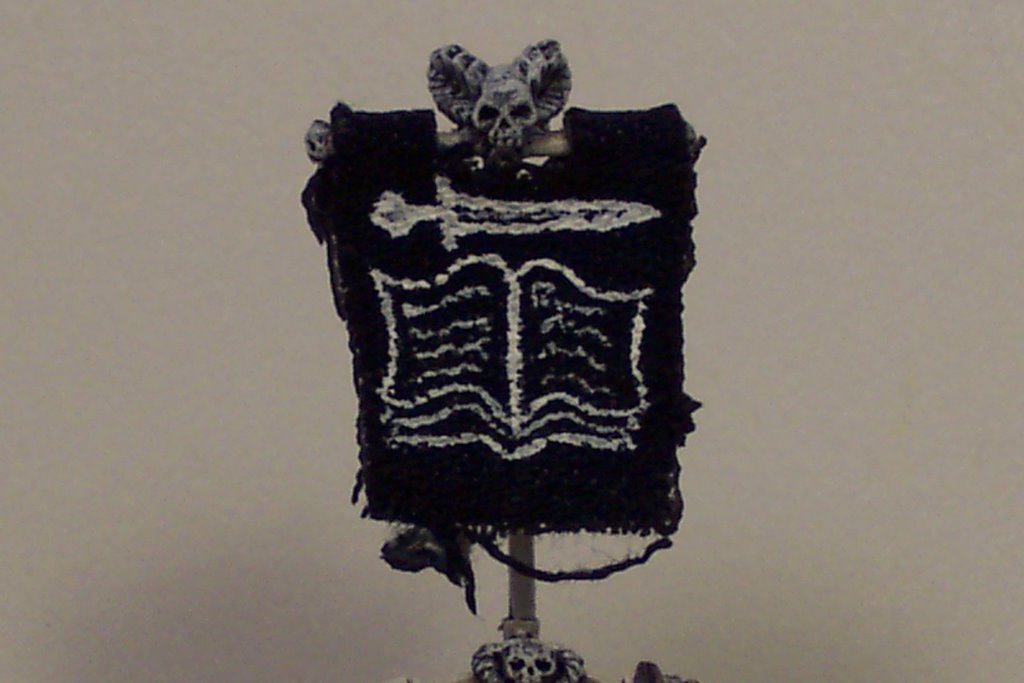
* If you have a pennant-type banner, decided where you want the visual anchor to be: at the pole end or in the geometric center? Begin with the visual anchor and build the rest of the image around that. Remember to paint both sides of the pennant. Although both sides need not be mirror copies of each other, in "real life" they probably would be.
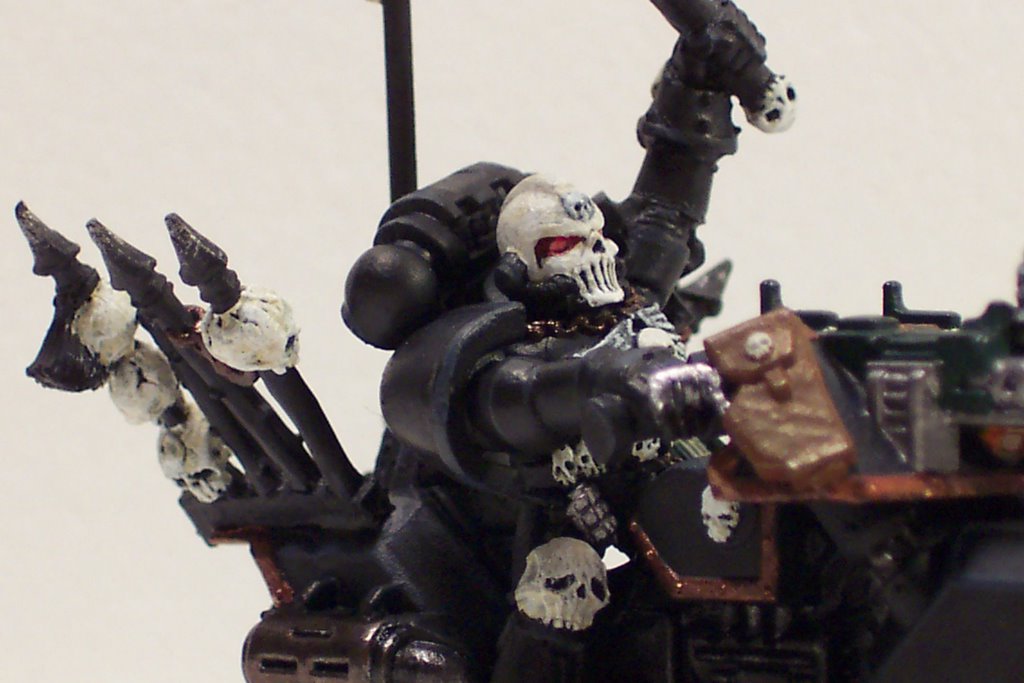
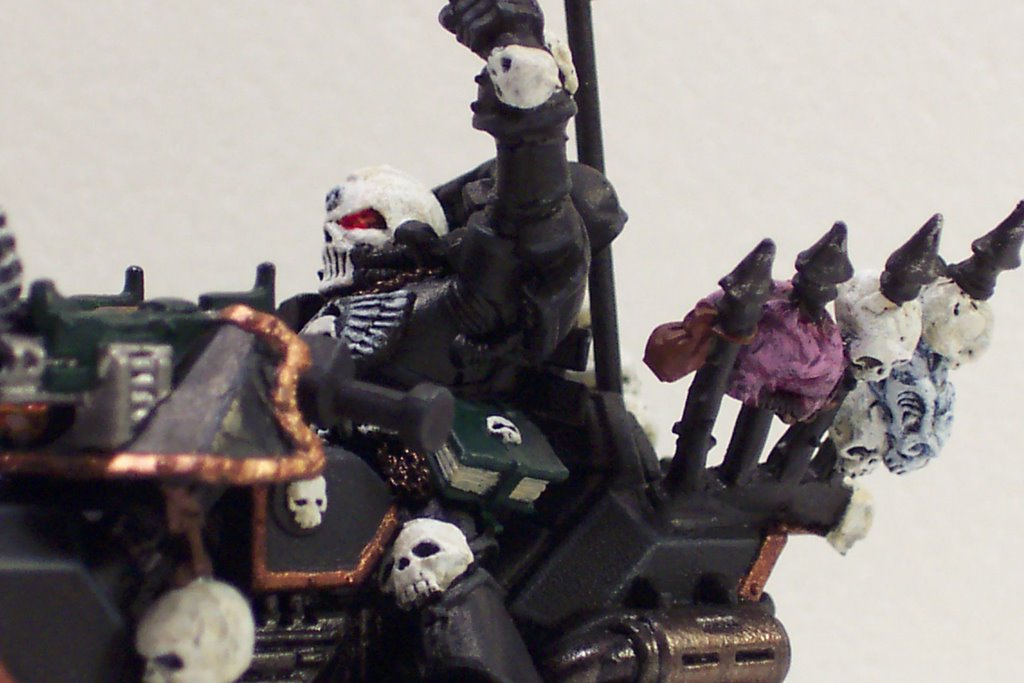
Here are the two sides of my Ravenwing Chaplain's pennant.

*If you have finished your image and you feel that it simply doesn't fill the banner enough, you can always add text.
7: PAINTING TEXT
Gothic and Illuminated text traditionally begins with one large ornate letter, possibly of a bright color, and then continues with smaller letters. This makes it incredibly easy to paint, especially if you don't want it to actually say anything. Sure you can spell out "Asmodai" or "Destruction" on the banner if you want, but many times it looks just as good, or better, if you instead write out "A(unintelligible)" or "D(unintelligible) R(unintelligible)". A single large defined letter followed by small squiggles and dots makes perfect simulated gothic text. Having your text run off the edge of a torn banner is another great idea and adds a bit of mystery especially if the text is legible.
Remember, if you screw up don't worry about it! You can always paint over the image with your background color, or simply start over with a new piece of cloth. Cloth is cheap! Do you realize how many 1"x 2" banners you can make with a single pair of old jeans?
8: ATTACHING THE BANNER
Now that your banner is complete, it is time to attach it to the model. Bend the extensions that we left for the banner pole around the banner pole, be sure that the length/height is right. Cut any excess length off the extensions, but leave enough for you to glue them in place on the back of the banner.
For a single sided banner, you can simply super glue the extensions in place on the back of the banner. Super glue does not set as quickly with a porous material like cloth, so make sure you hold it in place until it does set. Also, be aware of how thin your cloth is and how much glue you are using, you do not want the glue to seep through and end up gluing your fingers to the banner!
For a double sided banner or pennant, you will simple want to make your extensions a little shorter and glue them around the banner pole itself so that you do not cover up the image on the reverse side, either that or make sure you leave enough room for the extensions to fit next to the image when you paint it.
When gluing stiff banners, make sure the banner is positioned correctly before you let the glue set!
Also, unless you have to, like for pennants, or unless your banner is perfect and you will never want to change it, don't glue the fabric to the model itself. This way, if you don't like the result or if you ever want to change it, you will always be able to remove the banner by simply cutting the fabric and you will not have to risk damaging the model itself.
-------------------------------------------------
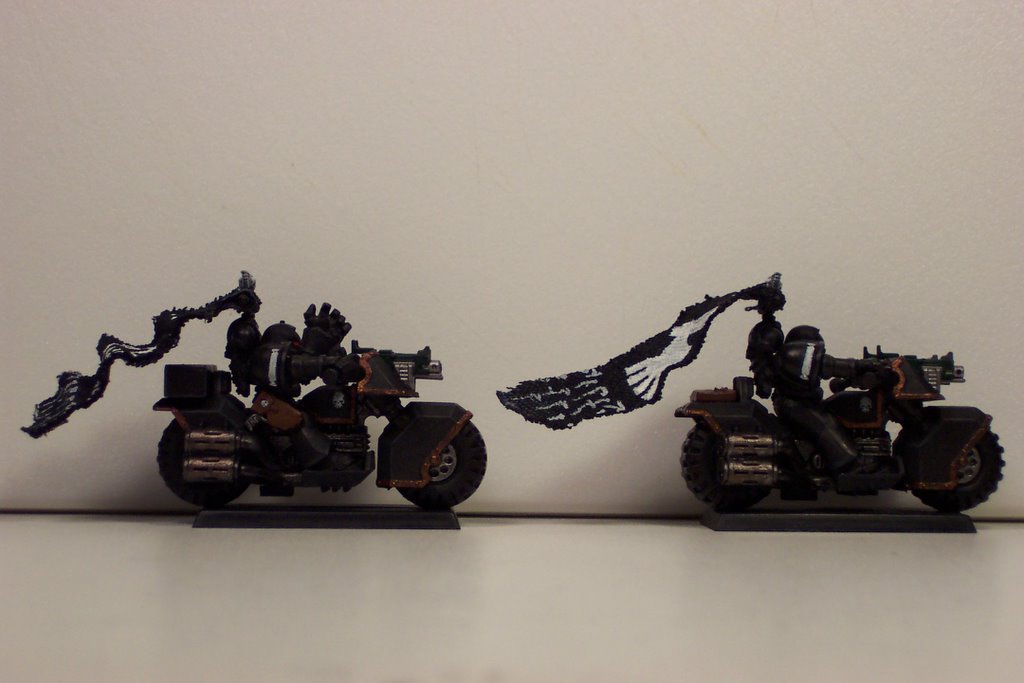
That's it, done! All of the banners you see above took me 3 days total to complete, most of which was required for drying.
Day 1: Cut, dye, dry.
Day 2: Soak in glue, shape, dry.
Day 3: Paint designs/text, attach to models.
I hope this is helpful to some of you out there. Enjoy!
posted by blue loki at
2/28/2006 09:11:00 AM
|
1 comments
![]()
![]()